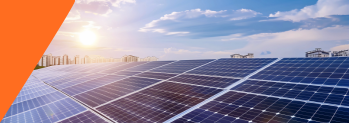
Switching to solar energy is one of the best decisions you can make for your home and the environment. Not only will it lower your electricity bills, but it also helps you contribute to a sustainable future.
For many, installing solar panels can seem unfamiliar. To simplify the process, here are the steps to follow for a successful solar panel installation at your home.
1. Assess Your Energy Needs and Site Potential
The two things to consider before installing a solar panel process are- assessing your energy needs and determining whether your home or site is suitable for solar panels.
Start by looking at your electricity bills to understand your average monthly energy consumption. This will give you a rough idea of how much solar power you will need to generate.
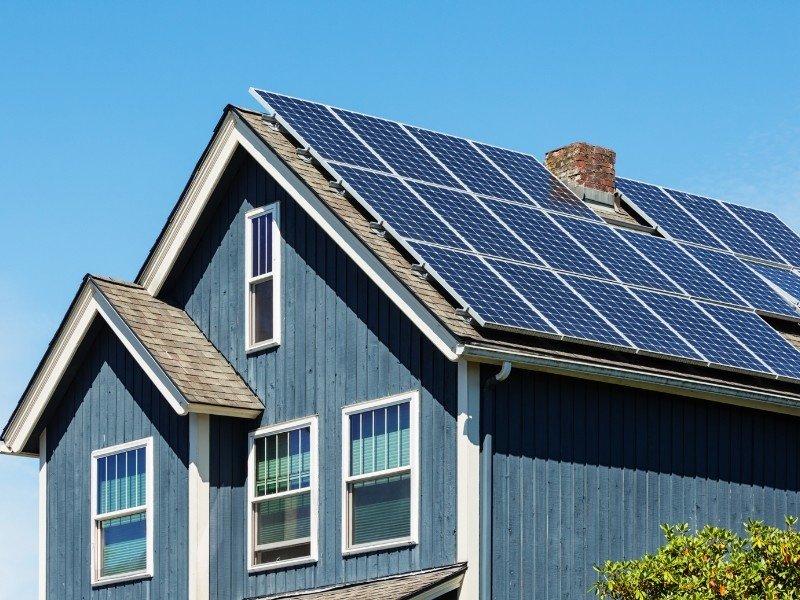
Next, evaluate your roof’s condition and orientation. A roof that faces south (in the Northern Hemisphere) and has little to no shade is ideal for solar panels. If your roof is shaded by trees or nearby buildings, you might need to trim trees or explore alternative mounting options like ground-mounted panels. It is also important to check the condition of your roof- in case it needs repairs.
2. Choose the Right Solar Panel System
With your energy needs and site potential assessed, the next step is to choose the right type of solar panel system. There are several types of solar panels available, including monocrystalline, polycrystalline, and thin-film panels.
Monocrystalline panels are typically more efficient and take up less space but are also more expensive. Polycrystalline panels are less costly but slightly less efficient, while thin-film panels are flexible and lightweight, making them ideal for unconventional spaces.
Additionally, consider whether you want a grid-tied, off-grid, or hybrid system. Grid-tied systems are connected to the local power grid, allowing you to sell excess power back to the utility company. Off-grid systems are self-contained and require battery storage for nighttime use, which can be ideal for remote locations. Hybrid systems combine the best of both worlds, providing both grid connection and battery storage.
3. Obtain Permits and Approvals
Before any installation work can begin, you will need to obtain the necessary permits and approvals from your local government and utility company. This process can vary depending on your location, but generally, it involves submitting detailed installation plans. Most professional installers, like Alpex, will help you with these permits.
Permitting ensures that your solar installation complies with local building codes, electrical codes, and safety standards. Take this as a factor into your timeline as it may take a few weeks to get approval.
4. Install the Solar Panels
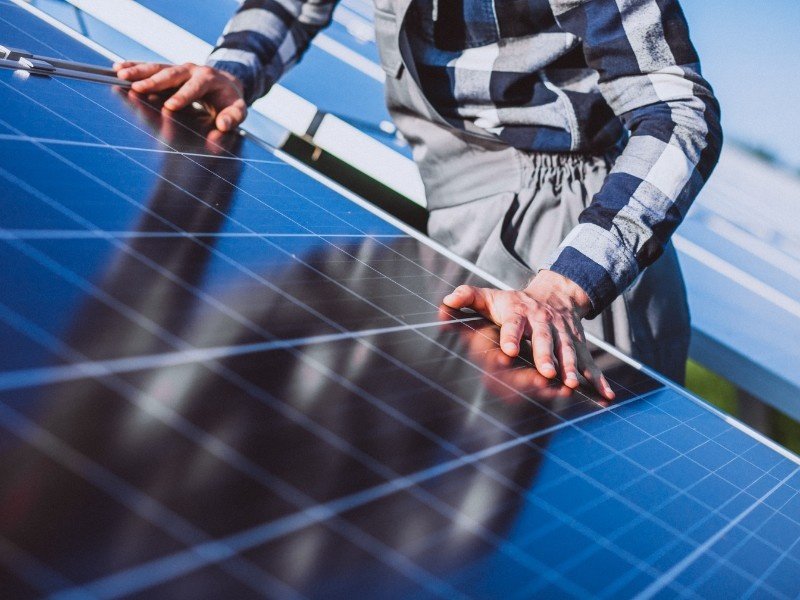
This step typically takes one to three days, depending on the size of your system and the complexity of the installation. The process begins with preparing your roof, which may involve installing scaffolding for safety.
Next, place the mounting systems on your roof to support the solar panels. Secure these mounts to the roof beams and angle to maximise sun exposure. Once the mounts are in place, the solar panels are carefully installed on top.
Following this, connect the electrical wiring to link the panels to an inverter. The inverter converts the direct current (DC) electricity generated by the panels into alternating current (AC) electricity, which is used in your home.
Finally, a solar performance monitoring system is installed to track the energy generated and used. Alpex offers a mobile app that allows users to monitor their energy production in real time, giving you full control over your solar power system.
5. Final Inspection and Powering Up
After installation, the final step is to have your system inspected and approved by your local government or utility company. This inspection ensures that the installation meets all safety standards and regulations. If your system is grid-tied, the utility company will also install a bi-directional metre to track the electricity you send back to the grid.
Next, place the mounting systems on your roof to support the solar panels. Secure these mounts to the roof beams and angle to maximise sun exposure. Once the mounts are in place, the solar panels are carefully installed on top.
Following this, connect the electrical wiring to link the panels to an inverter. The inverter converts the direct current (DC) electricity generated by the panels into alternating current (AC) electricity, which is used in your home.
Finally, a solar performance monitoring system is installed to track the energy generated and used. Alpex offers a mobile app that allows users to monitor their energy production in real time, giving you full control over your solar power system.
Common Mistakes to Avoid When getting Solar Panels Installed on your roof
Ensuring a successful solar panel installation involves careful planning and attention to detail. Here are some common mistakes to avoid and important considerations to keep in mind:
- 1
Underestimating Energy Needs: Accurately assess your energy consumption by reviewing your electricity bills and determining the appropriate solar system size. This ensures your system meets both current and future needs.
- 2
Not Considering Future Expansion: Plan for potential future energy needs or system expansions. Proper planning helps avoid costly upgrades later on.
- 3
Choosing Poor Quality Equipment: Always opt for reputable brands like Alpex, which provide high-quality panels and inverters. Make a checklist of essential equipment like solar PV modules, inverters, and batteries if opting for an off-grid system.
- 4
Improper Installation: Hire experienced and certified installers, like those offered by Alpex.
- 5
Overlooking Warranty and Service: Choose solar panels with robust warranty coverage and reliable service- also, budget for maintenance and potential repairs.
- 6
Not Considering Financial Incentives: Research available financial incentives to offset the initial cost of installation. Budget planning should include inverter capacity, earthing, battery storage (if applicable), and the number of panels needed.
Conclusion
Alpex’s app lets you track your energy production and consumption in real time, giving you insight into how much energy your solar panels are generating. Careful planning and working with a certified installer like Alpex ensures a smooth installation process. If you’re considering long-term savings and sustainable power, exploring the right solar panels for home can help you make a confident decision. Enjoy the benefits of clean energy and lower electricity bills for years to come.