Key Summary
PM Surya Ghar Muft Bijli Yojana: Subsidy, Benefits & How to Install Rooftop Solar
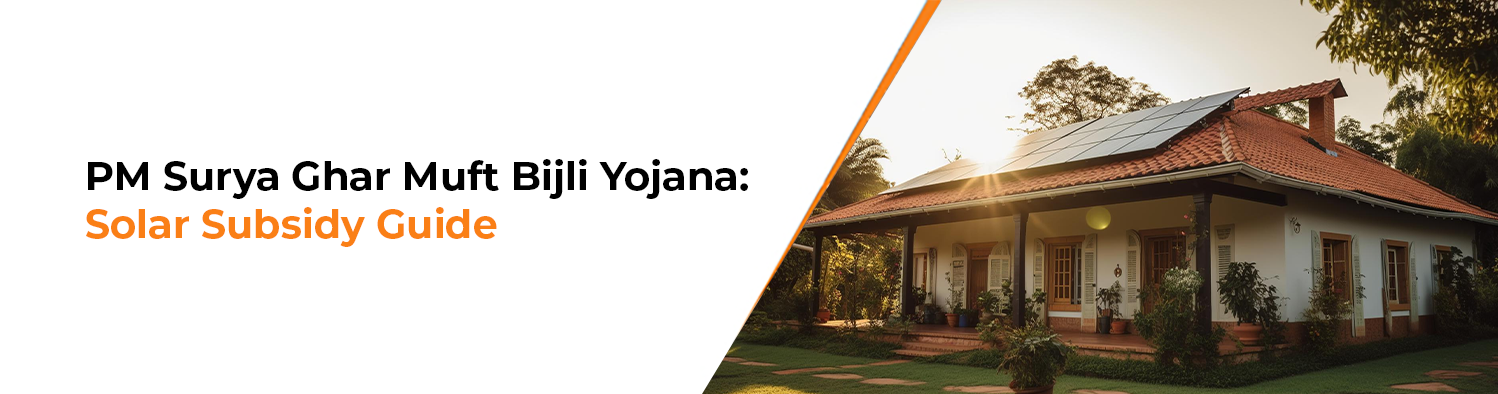
The PM Surya Ghar: Muft Bijli Yojana, launched on February 15, 2024, is an initiative of the Indian Government to install rooftop solar panels on 1 crore residential households. It provides up to 300 units of free monthly electricity and subsidies for solar installation, aiming for sustainable energy and reduced household costs.
The primary objective of the scheme is to provide affordable electricity while encouraging the use of renewable energy. It is closely linked to the Pradhan Mantri Suryoday Yojana, which focuses on expanding solar energy access, especially for low- and middle-income families, ensuring energy security and environmental conservation across the country.
Companies like Alpex Solar, involved in manufacturing solar panels, are contributing to this goal by enhancing the availability of high-efficiency modules required for these rooftop installations.
What is the PM Surya Ghar Rooftop Solar Scheme?
The PM Surya Ghar Rooftop Solar Scheme is a scheme designed to make solar energy accessible and affordable for households across the country. It encourages homeowners to install rooftop solar panels by providing financial subsidies. This scheme is a major step toward reducing dependence on non-renewable power sources and promoting sustainable energy.
The key goals of the scheme include increasing the use of renewable energy, reducing carbon emission, decreasing the electricity bills for households, and supporting India’s target of expanding its solar power capacity. It also aims to empower citizens to generate their own electricity and contribute to a greener environment.
By providing subsidies, easy finance, and net metering benefits, the scheme supports widespread solar adoption. It helps reduce upfront installation costs and ensures long-term savings, making solar energy a practical and sustainable choice for Indian homes.
Key Benefits of PM Surya Ghar Muft Bijli Yojana
Financial Benefits
Environmental Benefits
Energy Independence
Solar Panel Subsidy Under PM Surya Ghar Scheme
Subsidy Structure by System Size
| Average Monthly Consumption (Units) | Recommended Solar Capacity | Central Subsidy (₹) |
|---|---|---|
| 0–150 Units | 1–2 kW | ₹30,000 – ₹60,000 |
| 150–300 Units | 2–3 kW | ₹60,000 – ₹78,000 |
| Above 300 Units | Above 3 kW | ₹78,000 (Maximum Cap) |
Maximum Subsidy Amount Available
Under the PM Surya Ghar scheme, the subsidy is capped at a 3 kW system capacity. The total central financial assistance (CFA) is calculated based on the system size. 78, 000 is considered the maximum amount in this case.
Central vs State Subsidy Benefits
Eligibility Criteria for PM Surya Ghar Muft Bijli Yojana
Documents Required to Apply for the PM Solar Scheme
Here are the documents typically required for the PM Surya Ghar: Muft Bijli Yojana (rooftop solar subsidy scheme) and why they are needed:
1. Aadhaar Card
Used for identity verification and to link the applicant with government subsidy records. It ensures the benefit is given to the correct eligible household.
2. Electricity Bill (Latest)
Required to confirm your existing electricity connection and consumer details. It helps verify eligibility for rooftop solar installation on your home.
3. Proof of Ownership (Property Papers / Registry)
Needed to confirm that you own the house where the solar panel will be installed. This prevents misuse of subsidy on non-owned properties.
4. Bank Account Details (Passbook / Cancelled Cheque)
Used to transfer the subsidy amount directly into your account. It ensures smooth and transparent financial processing.
5. PAN Card (if applicable)
Required for financial verification in some cases, especially for subsidy tracking and compliance purposes.
6. Passport-size Photograph
Used for official application records and identity confirmation during the approval process.
7. Mobile Number & Email ID
Needed for OTP verification, application updates, and communication regarding approval and installation status.
8. Consumer Number (from electricity bill)
Helps link your application directly to your electricity connection for technical feasibility and subsidy approval.
These documents are required to verify identity, confirm property ownership, check electricity connection details, and ensure direct subsidy transfer without fraud or duplication. They help make the process transparent, secure, and properly tracked under the government scheme.
9. Exceptions for Tenants
If someone is a tenant, they can still apply under the PM Surya Ghar: Muft Bijli Yojana, but there are a few important conditions and adjustments.
- Permission from the property owner is required
Since rooftop solar panels are installed on the building, the landlord must give written consent. This ensures legal approval for installation on a rented property.
- Property ownership documents are replaced by consent proof
Instead of ownership papers, tenants may need a No Objection Certificate (NOC) or written approval from the house owner.
- Electricity connection must be in the applicant’s or household usage
The solar system is usually linked to the existing electricity meter, so clarity on billing responsibility is important.
Why this matters:
These conditions ensure that the installation is legally valid and that both the tenant and property owner are protected. Since rooftop solar is a long-term setup, government authorities need clear authorization before approving subsidies and installation.
In simple terms, tenants can benefit from the scheme, but landlord approval is the key requirement before moving forward.
Step-by-Step Guide to Apply for PM Surya Ghar Apply Online
1. Register on the National Solar Portal
To begin, visit the official PM Surya Ghar Portal. You must register by selecting your State and Electricity Distribution Company (DISCOM). You will need to enter your electricity Consumer Number (found on your bill) and verify your mobile number and email via OTP.
2. Submit Application with DISCOM
Once registered, log in to your account and fill out the rooftop solar application form. You will provide details about your electricity usage and upload documents like a recent electricity bill. Your application is then sent to your local DISCOM for Feasibility Approval. The DISCOM assesses if your rooftop space and the local grid can support the proposed solar capacity.
3. Select Vendor for Solar Panel Installation
After receiving feasibility approval, you must select an empaneled (registered) vendor from the list available on the portal. Only installations by these authorized vendors are eligible for the government subsidy. Manufacturers like Alpex Solar Ltd are trusted MNRE-registered vendors who provide high-quality, high-efficiency solar modules. The vendor will then visit your site, finalize the system design, and install the solar panels, inverter, and necessary wiring.
4. Installation Approval and Inspection
Once installation is complete, the vendor submits the system details on the portal. You must then apply for a net meter. DISCOM officials will conduct a site inspection to ensure the installation meets technical and safety standards. After successful verification, the DISCOM installs the net meter and generates an online Commissioning Certificate.
5. Subsidy Disbursement Process
The final step is to apply for the subsidy through your portal dashboard. You will need to upload your bank account details and a copy of a cancelled cheque. The subsidy amount—which can range from ₹30,000 to ₹78,000 depending on the system capacity—is typically transferred directly to your bank account via Direct Benefit Transfer (DBT) within 30 to 45 days of the commissioning certificate being issued.
Solar Panel Installation Under Government Scheme
This is a structured process of converting sunlight into electricity, managing that power through an inverter, and using a net meter to export surplus energy to the grid for credits.
How Rooftop Solar Systems Work
Installation Procedure Under Government Scheme
Rooftop Solar System Size Guide for Homes
1kW Solar System
| Ideal For | Small homes, 1–2 BHK houses, or households with low consumption. |
| Generation | 120–150 units per month. |
| Roof Space | Approx. 80–100 sq. ft. of shadow-free area. |
| Cost | Approximately ₹50,000–₹75,000 (before subsidy). |
| Best Use | Powers essential loads: fans, lights, refrigerator, and TV |
2kW Solar System
| Ideal For | Small to medium-sized households (1–3 persons). |
| Generation | Approx. 8 units per day (240 units/month) |
| Roof Space | 150–200 sq. ft.. |
| Best Use | Runs almost the entire house, including a refrigerator, television, and washing machine. |
3kW Solar System
| Ideal For | Medium-sized families, 2–3 BHK homes with 1–2 air conditioners. |
| Generation | 350–450 units per month. |
| Roof Space | 240–300 sq. ft.. |
| Cost | Approximately ₹1.5–2.2 lakh (before subsidy). |
| Best Use | Ideal for running heavy appliances like ACs, geysers, and washing machines. |
Opportunities for Solar Installers & Businesses
The PM Surya Ghar scheme is creating strong growth opportunities for solar installers, EPC companies, and solar panel manufacturers across India’s residential solar market.
Challenges and Limitations of the Solar Rooftop Scheme
Government Solar Schemes Related to PM Surya Ghar
Future of Rooftop Solar in India